nodejs学习笔记(6)-配置路由(原生理论)
nodejs配置路由
- 这篇博客就使用原生的
node来配置路由,涉及路由的基本跳转, 获取请求参数,页面路由和api接口路由的合并封装,直接上代码了
代码展示:
- 页面路由(
route.js)
// 设置路由转向 |
api接口路由,get,post(api.js)
// api接口路由 |
- 服务器(
server.js)
//首先引入http模块 |
- 程序的启动文件(
index.js)
// 程序的入口index |
- 这里就展示一个页面-登陆页面实现获取请求参数
|
结果展示:
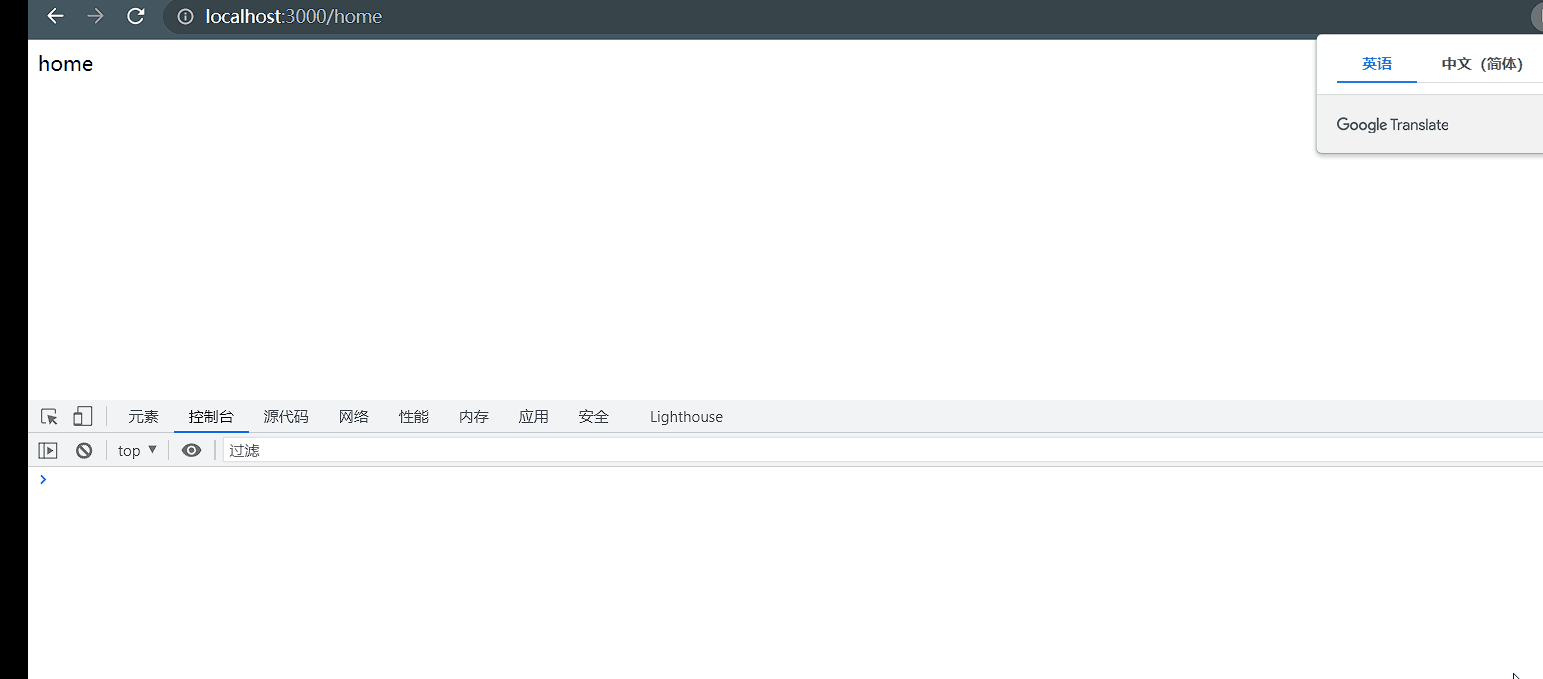
- 上面的
gif可以看到,页面会随着url的改动而跳转, 登陆成功返回{"ok":1},失败返回{"ok":0}
本博客所有文章除特别声明外,均采用 CC BY-NC-SA 4.0许可协议。转载请注明来自 肥林の仓库
相关推荐